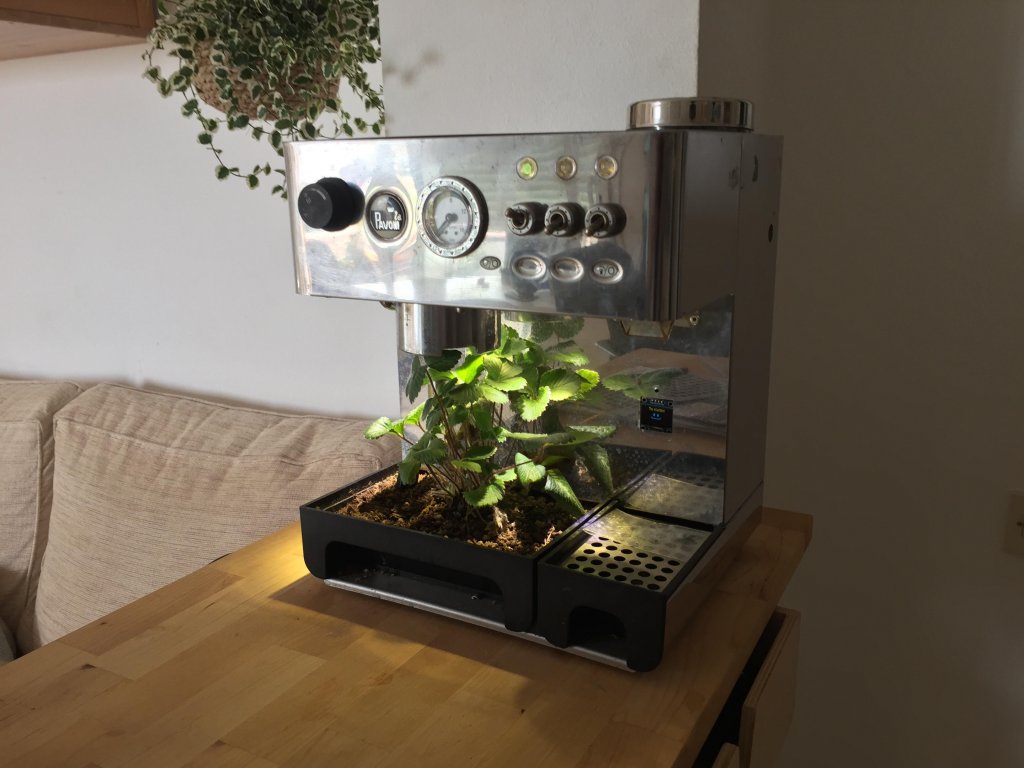
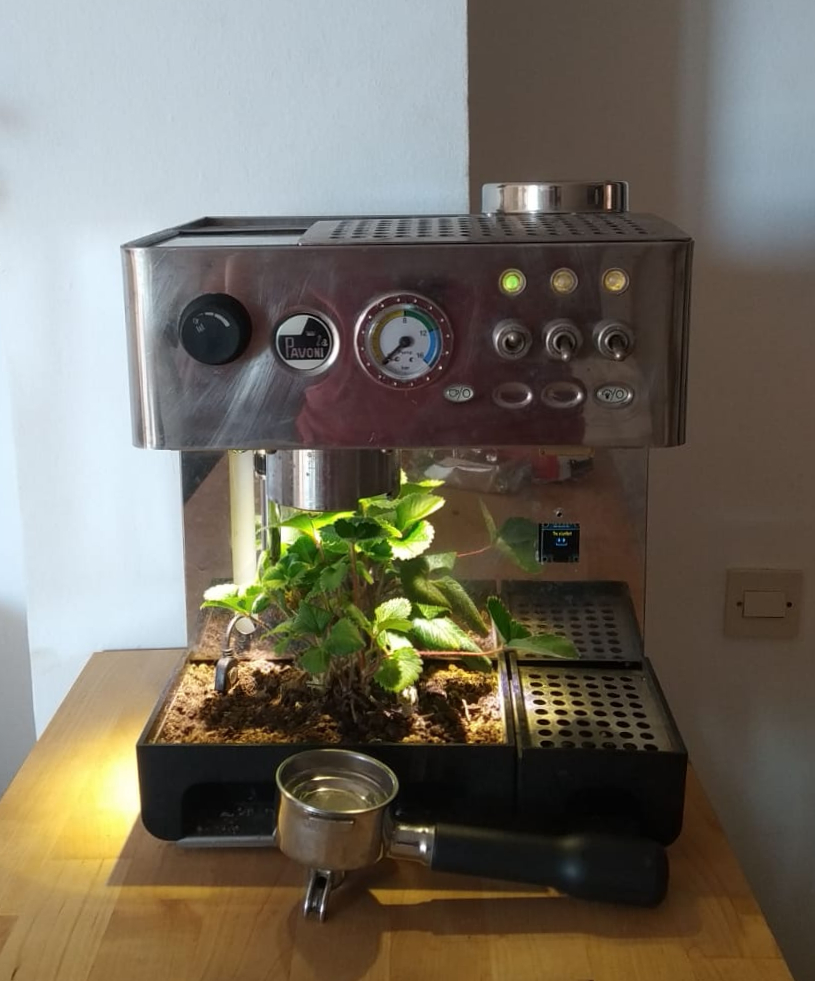
How to turn a Coffee Machine into a Smart Garden?
Coffee machines are a perfect fit to build a Smart Garden, they have almost anything you need, a water deposit, a high pressure water pump and a tray on where you can grow your plants.
A smart garden is a device that can take care of the plant needs without human interaction. What do plants need? Basically water, sun and nutrients.
The watering system:
Coffee machines have already a water deposit and a pump, but they also heat the water, so first thing was to do disconnect the heating element, we don’t want to throw boiling water into a plant.
Disconnecting the heating element:
In order to do it I just had to disconnect and reconnect some cables, coffee machine work with domestic high volatage, 220V, so you have to know what you are doing in order.
Attaching a soil moisture sensor and a micro controller:
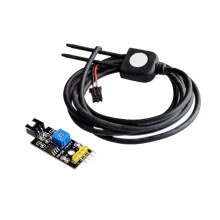
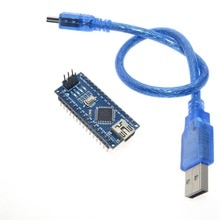
Because I wanted to know when to turn on the water pump I’ve attached a cheap moisture sensor to an Arduino board so I could get readings of the soil moisture level and know when to water.

A cheap 1$ soil moisture sensor 
A microchip, 3$ to control all the system
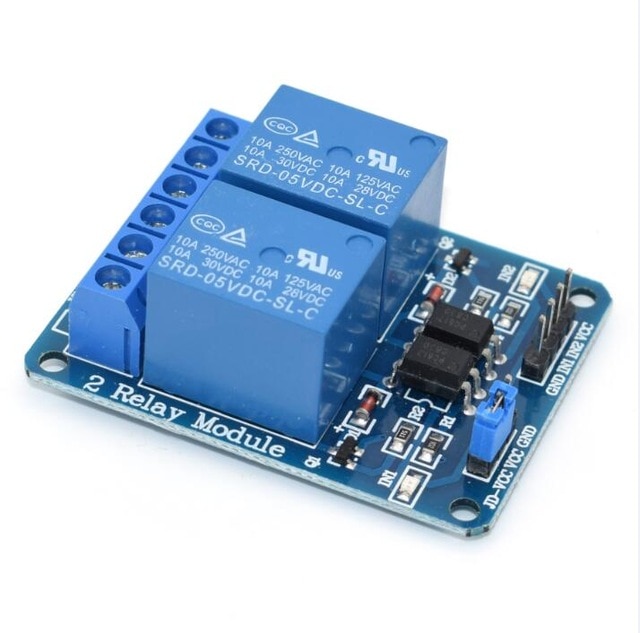
Connect the water pump to a Relay:
I’ve connected the water pump to a relay, this relay was connected to the Arduino, so now we were able to turn on the pump according to the soil moisture readings provided by the sensor.
Arduino is an open source platform on where to prototype and build easily any kind of electronic projects like this one.
The lighting system:
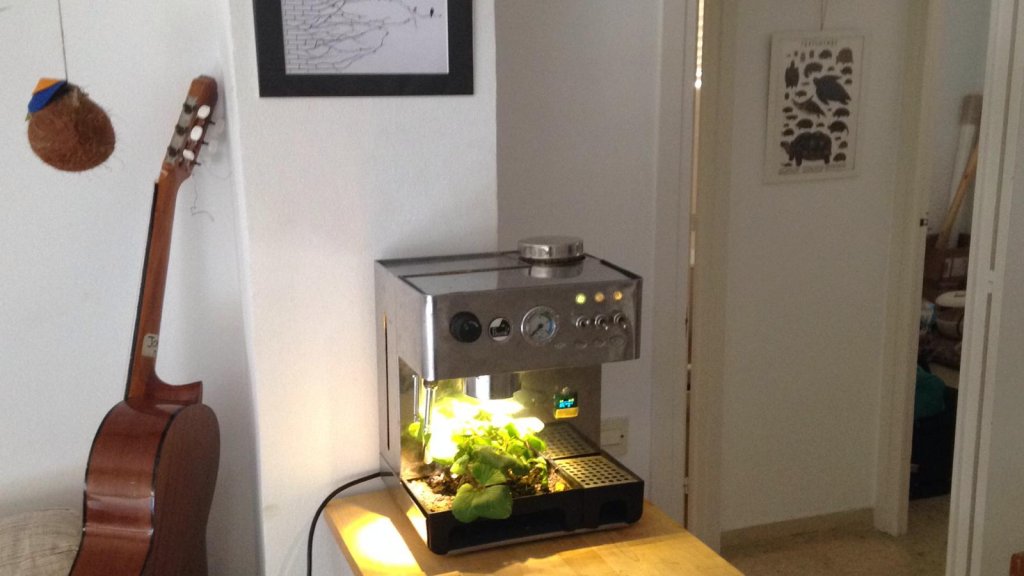
I decided to put some LED lights in order to provide the amount of light that a plants needs to grow, so I could place the coffee machine anyplace inside the house. It did not only make it look nicer but also the plants grew healthier with proper lighting.
Voila! We have a complete gardening device, let’s make it smart:
The code that rules the coffee machine:
Well, all this was connected to the Arduino board, but then I needed to write a program to make it work all together, the code is written in Arduino and it can be found on github. I’ll avoid for now the explanation of the technical details because it’s long, but at the end you’ll find an introduction to it.
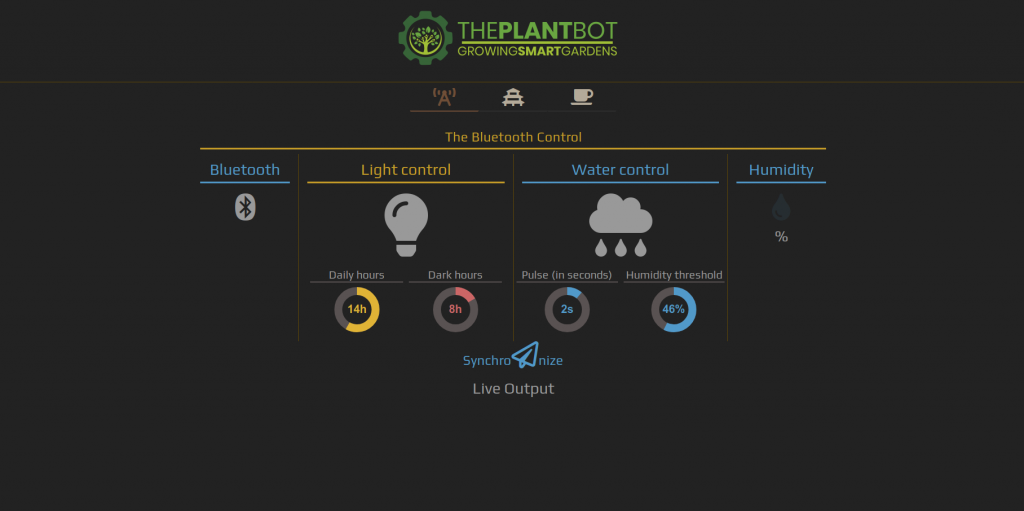
After several versions I’ve decided to attach a Bluetooth receiver to the Arduino board, so I could modify the parameters like Daily hours, Watering time, etc, on the run. To make it possible I bought a very cheap bluetooth module, the HC-06 Bluetooth and connected to the Arduino, then I build a web interface to access to modify the parameters of the program I wrote:
A browser accessible Bluetooth interface:
To make possible to interact on the run with the coffee machine I’ve design a Browser Accessible Interface were to have a bluetooth connection with the coffee machine, so I could modify the parameters from my computer without having to physically access to the Arduino board.
With this, I was able to turn on and off the lights anytime I wished, also, I was able to water manually or modify the parameters of the automatic watering system I build. The interface can be accessed here:
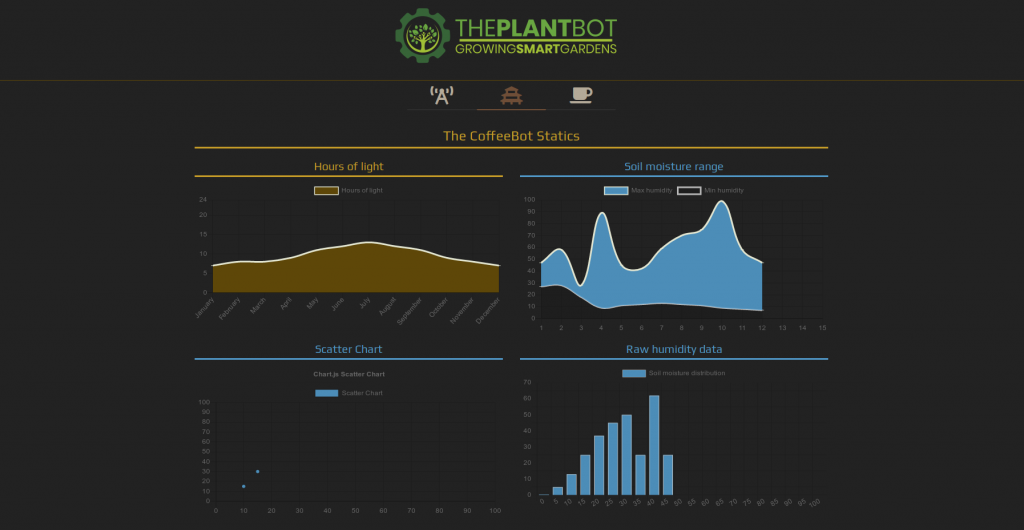
I’ve also added some charts to have a little history back up of what was going on anytime, the implementation of this part is still uncompleted.
The history of the coffee machine
I found this old coffee machine in my workplace, it was abandoned on the office basement for several years: a very expensive Italian machine, made of steel, with a shiny and nice retro looking, it kept my attention early.
After a couple of years growing dust I’ve asked permission to try to fix it, keep it or throw it away. So I brought it home, when I first tried it making a coffee was impossible: it was leaking hot water. It didn’t look so bad so I’ve checked it all and I’ve contacted the company to provide new spare parts for it: I bought a new gasket and couple of new filters and fixed! The machine was making coffee again!
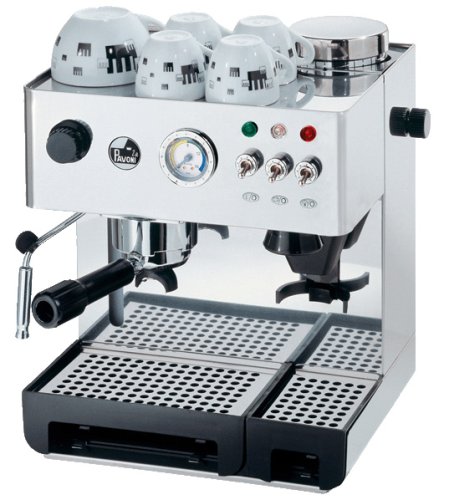
It was noisy, slow and dirty but after some calibration the coffee started to be real good, I was very proud of my new coffee machine, it made coffee for some weeks, but soon it started to leak from the same gasket. Holy crap.
When fixing it I’ve noticed some marks, it was crystal clear that someone already tried to fix it before, I guess they had the same luck and this was obviously the reason it was abandoned there.
I think the machine suffered from overheating, so after some service the sealing gasket was warped again and leaking. I though on ways to fix it, certainly the machine looked nice, but still, I really preferred my old and cheap filter coffee machine, it may be ugly, but it’s more efficient, clean, and I really prefer weak watered-down coffee.
So as I didn’t know what to do with it I took the coffee machine and left it at the entrance of my house waiting to be thrown away, and it remained there growing dust for many, many months, like half year, sitting at the entrance of my little flat. What was doing there? I did not know either.
On a very hot day of this last summer I was absolutely bored at home, I saw this old coffee machine and I though, mhm, okey, today we’ll do something with you, and so, this is the story of how to turn a coffee machine into a Smart Garden, a Plantbot.
Materials used:
- A power source: from 220VAC to 5VDC supply to connect an Arduino like device. That’s easy, any mobile charger will do.
- A soil humidity sensor, yep, you’ll probably need to buy one. They are super cheap. For an introduction on humidity sensors check this post.
- Lights, I needed lights, we all need it. Don’t you have? Buy some spare growing leds, mount your own, termal glue, heatsink, little of welding… Yes, sounds a lot of work and shit, but not so much, and it’s cheap to do. Check this UK-EU supply, but you’ll find anything you need on Ebay or Aliexpress.
- A LED driver: a constant current power supply for the LEDS, well that’s cheap, but not very common, so same as before, you’ll probably have to get one, check last link.
- Any Arduino device, don’t you have one? Check this.
- Lots of wires
- A little screen, tiny screens are nice, they can show useful info anytime.
A Introduction to the code:
Pin definition:
// ANALOG INPUTS  PIN DEFINITION//

int moisture_sensor = A2;

// DIGITAL INPUTS  PIN DEFINITION//

int lights_p = 11;  // Lights relay
int pump_p = 10;      // Water pump relay
int moisture_p = 8; // Moisture sensor relay
- Connect the OLED screen to the I2C ports. In Arduino nano are A4 and A5
Default initial parameters:
The default modifiable global control parameters are as follow, all this parameters can be modified on the run using the Browser Bluetooth interface I’ve created.
int   hoursLight = 14;
int   hoursDark = 10;
int   min_moisture=42;
First two parameters control the day duration and light and dark hours for each day, this may need to be modified to satisfy plant photoperiod needs, for an introduction on plant lighting needs visit this link.
Third parameter: min_moisture sets the threshold value that will turn on the watering system.
The watering routines are simple:
- The program checks every 30 min the soil moisture
- If the soil is drier than the threshold moisture value ( by default ) less than 42% it will turn on Watering Mode
- Watering Mode don’t turn OFF until the value of moisture is higher than the threshold.
- During watering mode: Pump is turned ON every 1 minute, during 2 seconds each time. is produced every one minute until the Watering Mode is OFF.
- During Watering Mode it takes soil moisture measures every the next 10 seconds after any Watering Attempt, if the soil moisture value is inferior than the threshold it will keep watering Watering Mode.
- If the program does not hit the target in 7 attempts it declares ERROR.
Control variables:
- attempt: Defines the number of times before we declare ERROR
- min_moisture: Defines the moisture threshold level that will turn Watering Mode
- moisture: Stores the (normalized) soil moisture sensor data, scale from 0% to 99%
- pump.Timer(2,0): This function controls the watering time, it will the pump work for 2 second every time it’s initialized
- pump.Start(): Initialize/Turn on the pump
